Welcome to the VR world

You want to immerse yourself in the digital world of virtual reality, but don't really know how 360° shots work and how to edit them? You want to create a virtual 360° tour for your school, your company, your real estate or about your city? You want to know how to create these 360° images yourself and which software you can use to edit, upload and add various functions to them? In this article you will learn everything you need to know for a successful start. And best of all: With our software we offer you a tool, that not only comes from VR EASY and is called VR EASY, but also really makes VR EASY. We explain step by step how you can create 360° images yourself and how you can create virtual 360° tours with our software, how to integrate them into websites and share them with the world. Let's go!

1. How do you create 360° virtual photos and 360° tours yourself?

1. How do you create 360° virtual photos and 360° tours yourself?

Just a few years ago, creating 360° photos was very time-consuming and reserved for professionals. But today, anyone can actually create good to very good quality 360° photos themselves.
We explain here two inexpensive methods how you can create 360° photos yourself and also show you briefly, how professional photographers do it:

1.1 Create 360° photos for free with your cell phone

1.1 Create 360° photos for free with your cell phone

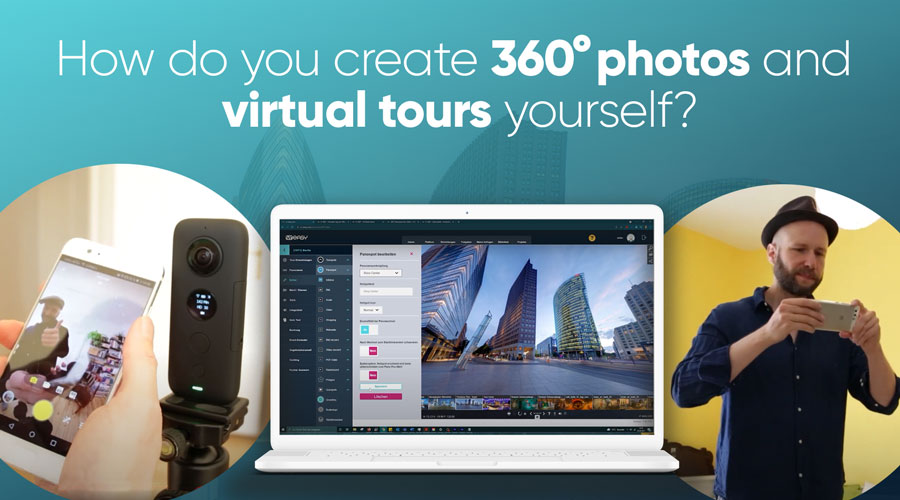
So you can create 360° images in satisfying quality even with your smartphone: Download the free Google Streetview app to your phone. It guides you intuitively through the capture process. All you have to do is move your phone so that you hit the orange circles at the edge of the image with a circular white marker in the center. By doing this, you'll gradually photograph the entire space around you. Once all the orange circles have been hit, the Google Streetview app merges the individual images to create a spherical photo. Don't worry: The finished 360° photos won't be posted on Google Streetview without your OK, Instead, the app saves them on your phone. From there, you can transfer them to your PC/MAC by e-mail or with a data cable. PC/MAC to edit them further with our VR-EASY software.

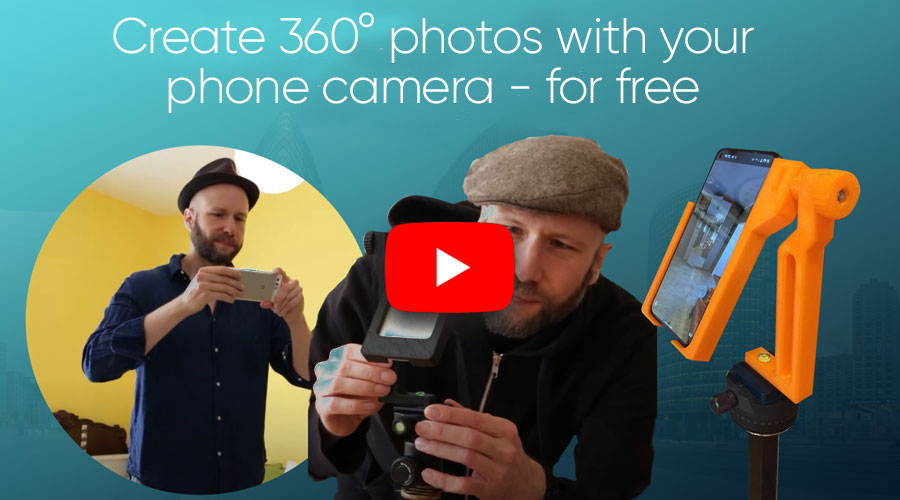
Important tips: In this Video we show you step by step how you can realize this and successfully create your 360° tours. Rotate around the cell phone camera - not the other way around. Start taking photos in the center of the image and work your way up and down, so the app can stitch the photos together flawlessly. For better results, you can use a tripod and a cell phone nodal point adapter. You can get such a nodal point adapter for your cell phone from here order very cheap.

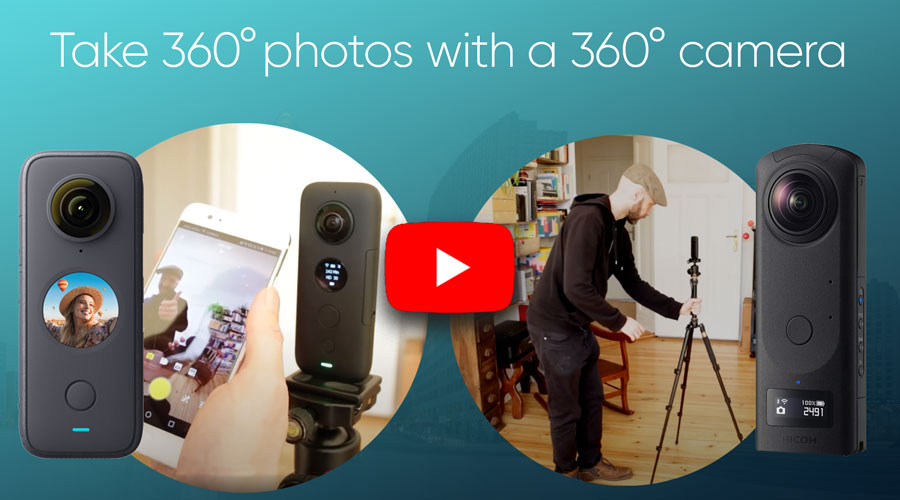
1.2 360° photos with a 360° camera (e.g. Insta360 or Ricoh Theta)

1.2 360° photos with a 360° camera (e.g. Insta360 or Ricoh Theta)

With a special 360° camera, you can create your 360° shots faster and more accurately. You can get them for about 400 to 1,000 euros. Or you can rent them online on a monthly basis to save money, especially when you're just starting out. 360° cameras have many advantages. With just one click, they take pictures of the entire room - so you save a lot of time taking pictures compared to the Google Streetview method. The 360° cameras, which you can usually control with your cell phone, also work more error-free. You can also leave the room and create the 360° photos via an app. In this way, you prevent yourself from appearing on the spherical panoramas.... Important when working with the 360° camera is a stable tripod, which you can get from about 50 euros. With these 360° cameras you can often not only take 360° photos, but also effective 360° videos. The finished 360° recordings can be downloaded to your PC/MAC via e-mail or data cable for further editing, uploading with our VR-EASY software and creating exciting 360° tours.

Important Tipps: The most important tips for creating 360° photos with the "Insta360" 360° camera we have in this Tutorial-Video summarized for you.
1.3 360° photos with an DSLR camera and a nodal point adapter

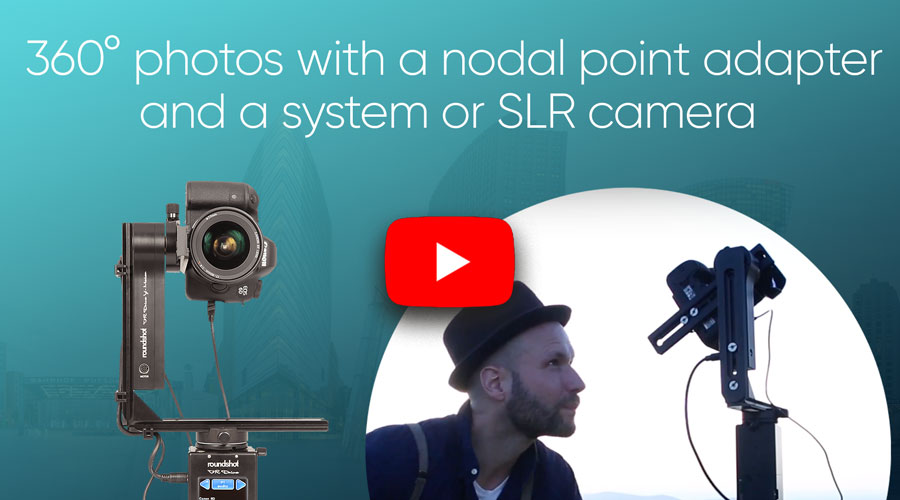
1.3 360° photos with an DSLR camera and a nodal point adapter

This is the top class and quite demanding. If you want to create high-quality 360° images like the pros, you should definitely familiarize yourself thoroughly, to be able to meet their own high expectations. And they must be prepared to invest in the appropriate equipment. For all those who want to take this step and for those who simply want to know how the pros do it, this tutorial by our expert Thomas Rychly provides a helpful and interesting insight. https://www.youtube.com/watch?v=ysSnN6LjjpE

2. How to create a virtual tour by yourself with the software of VR-EASY?

2.1 Test free of charge and without obligation

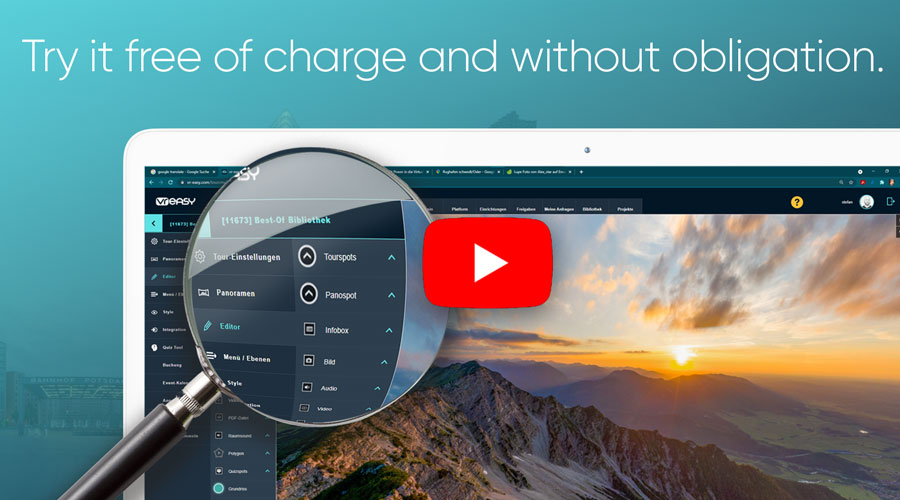
2.1 Test free of charge and without obligation

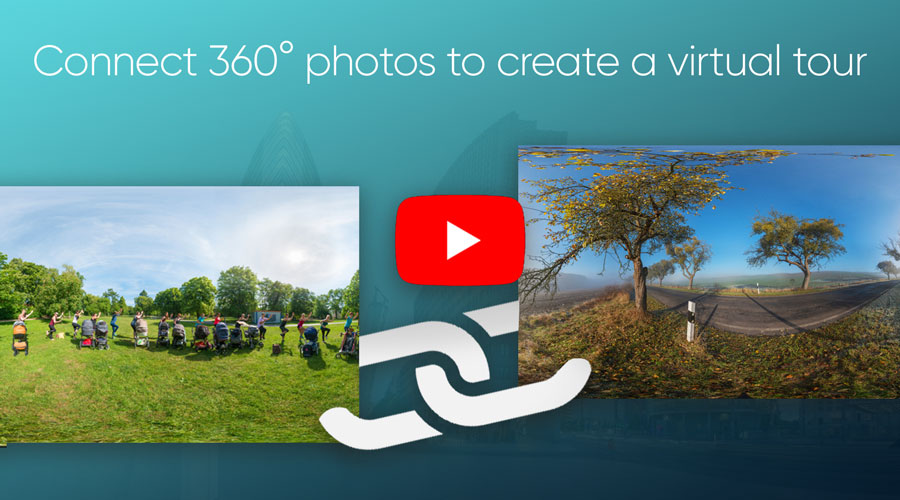
Congratulations, you have successfully created your 360° shots. And now you'll want to turn them into entire virtual tours and publish them. This is where VR-EASY software comes into play - a tool that lets you do all that. Here's how it works:

  • You sign up on our platform https://vr-easy.com
  • You test the software of VR EASY 14 days without obligation and free of charge

By the way: You ALWAYS test the premium package with us without any restrictions. Here you can quickly and EASY create a project and immediately e.g. with friends or colleagues. This is also possible if you have not yet created your own 360° recordings and would like to learn more first, how 360° tours are created and what you can expect from us. After logging into the backend, you will find a demo tour that you can use for this purpose.

2.2 Uploading 360° photos to the VR-EASY software

2.2 Uploading 360° photos to the VR-EASY software

After you have signed up:
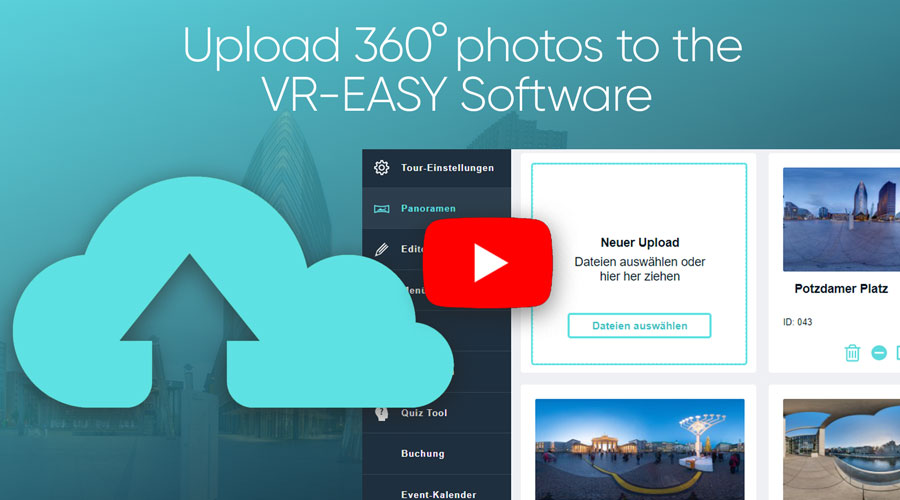
Upload your previously taken panoramas under "Create new project". UNCONDITIONALLY in a ratio of 1:1, so that our software can display it as one sphere in 360°x180°. You can save time if you upload several panoramas at once.

Important notes:

  • The resolution will not be changed or reduced. The original resolution is always stored and played on our server.
  • We guarantee the best possible loading time: All panoramas are stored in many small pieces on the server after uploading. Thus, the panoramas are loaded particularly fast, because the user can see IMMEDIATELY the previously determined angle of view, while the rest of the panorama loads in the background.

2.3 Linking 360° images to a virtual tour

2.3 Linking 360° images to a virtual tour

Now you can create an exciting 360° project from the uploaded panoramas using the software from VR EASY:

  • Via "Tour settings" you make the settings for the entire project, e.g. contact details, welcome or SEO settings.
  • In the editor you can drag&drop the different functions with the mouse directly into the panorama
  • You can include colors, logos, graphics.

Try it out, it's fun and really EASY.

2.4 Include the most important functions in the 360° virtual tour

2.4 Include the most important functions in the 360° virtual tour

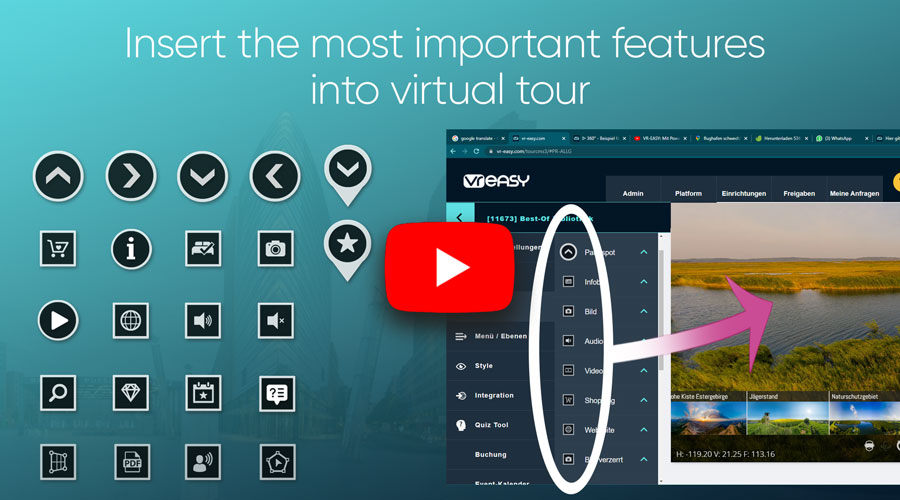
Your 360° tours become very special eye-catchers when you include exciting content and cool and useful features. You can do this EASY with our software, which is a truly multifunctional tool for virtual reality. This is where your creativity is most in demand. You can find a rough overview of our most exciting features here (link). And you can also find some great inspirations here (link).

3. How to share virtual tours on the internet?

We haven't mentioned it yet, but maybe you already know: our software is cloud-based, so it runs online. You didn't have to install anything to get started with your 360° shots - and there's a link to each of your 360° projects that you can share as often as you like, on any channel. And - as soon as you change something in your projects, it will be applied and shown the next time you call up the tours. You don't need to download an app or install special software to play the 360° projects - just click on the link. link is enough.


4. How do I integrate a virtual tour into a web page?

4. How do I integrate a virtual tour into a web page?

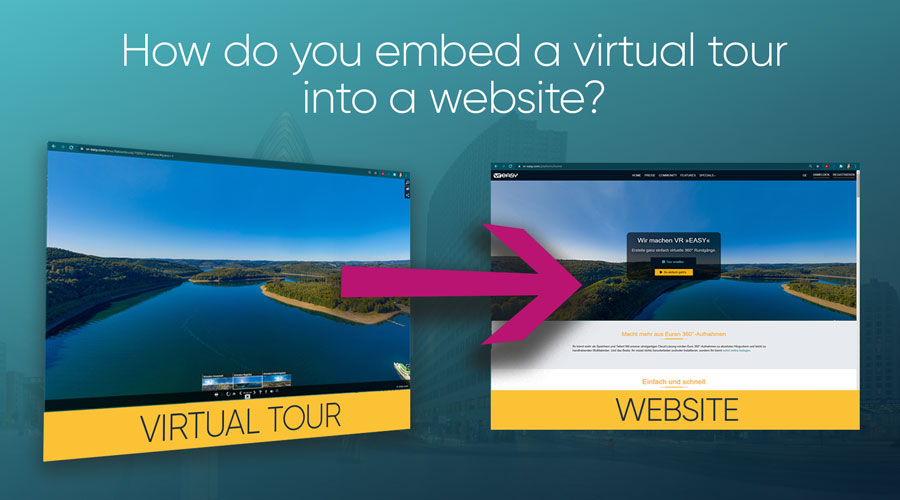
The individual link you receive to each 360° tour created with our software can be integrated into any web page.
This goes:

  • as a linked graphic. Example: https://www.best-bernau.de/
  • as a classic link in the text.
  • by the popular embedding in an iFrame. Example: At the top of this page.

We are often asked how to integrate the virtual tours so that the panoramas rotate in the preview box - like on this page at the top. This works with the help of a so-called iFrame code in your website: This is an HTML code that only needs to be placed where you want the 360° project to appear on your website. This is actually done in the same way as embedding Youtube videos using the embed code or embedding other external content like social media posts from Twitter. If you want to know more about iFrames and how you can embed such an iFrame code into a Wordpress page, you can read it at hier read easily understandable.

The iFrame code looks like this:

<iframe src="https://here-comes-the-link-your-tour-in.com"
style="border: none;" allowfullscreen="allowfullscreen" name="idIframe"
width="100%" height="500px"></iframe>

Behind src= is the link of the tour to be seen in quotes. You can replace the link with any link you want. It is important to note that links must always be placed between the two quotes. Not only each tour but also each 360° panorama of the tour also has its own link which one sees in the browser window and which one can also insert into the iFrame, so that this pano is displayed. If you press the spacebar, you can even generate a specific link for the current view angle and then copy it out of the browser window! The width of the preview window will be automatically adapted to the screens of different to the screens of different end devices. You can determine the height of the preview window yourself. In the example above the height is set to 500px (height="500px").


5. What is a 360° Website and how can I create it?

But you can also create your own web presence from your 360° panoramas. On the basis of the 360° tours a web presence is created, that invites users to "browse" and linger with information and impressive views. Present yourself and your product, invite customers to any location and with any focus that seems promising and suitable to you. Various features and designs allow the integration of information, graphics, photos, additional tours. The website is optimized for all devices and browsers. Since the loading times are also taken into account, your new site will be new site will be rewarded with good results by search engines. Here you can find more information and examples.


6. What can virtual tours be used for?

6. What can virtual tours be used for?

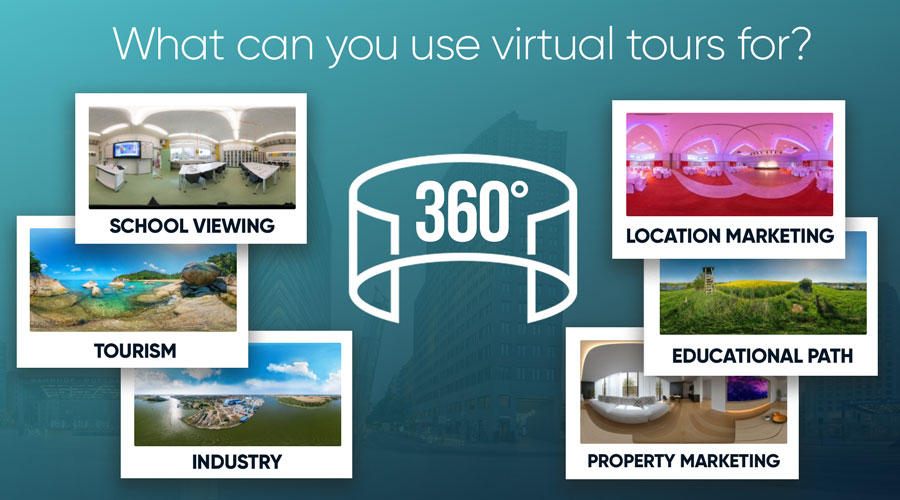
360° tours can be used for many purposes and are unbeatable instruments of innovative infotainment, educational offers and marketing. At the latest, the pandemic with its contact restrictions, distance events and the associated demands on digital offerings have helped the 360° theme to make a breakthrough - but we are still at the beginning of a dynamic and exciting development and use of VR applications. What can you do? Present places, locations and offers, create virtual spaces for encounters,

organize fairs and presentations, invite to open days, excursions and gallery visits, organize learning and teaching platforms where participants interact together. We are quite sure - things are moving forward in leaps and bounds, and we are constantly developing our software. Immersive learning is just as much a part of this as streaming in VR, the use of 360° in the private sector or completely new digital concepts and business models. We invite you to be part of it. Translated with www.DeepL.com/Translator (free version)


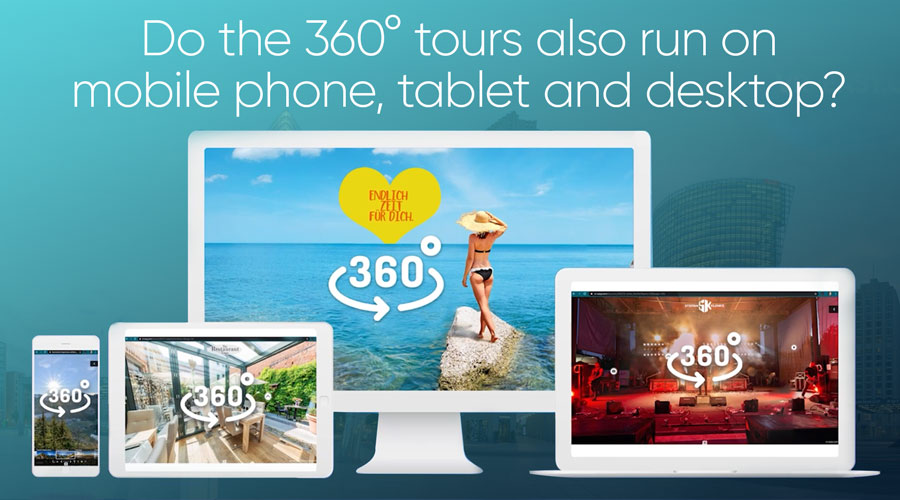
7. do the virtual tours also run on mobile, tablet, desktop and VR glasses?

7. do the virtual tours also run on mobile, tablet, desktop and VR glasses?

Our 360° projects run on all common devices, such as cell phones, tablets, iPads, PCs and MacBooks. Or even VR glasses.
Important note: In the further development of the software, we always make sure that "old" 360° tours can also be played on all common end devices.


8. do I need a special app (iOS or Android) for this?

  • You don't need that to create 360° virtual tours. That's one of the many advantages of our software: it's a web-based software that can be accessed via the normal browser (Chrome, Firefox, Safari or Explorer).
  • You don't need a special app to play these virtual 360° tours either. The software automatically recognizes where it is being played and displays itself accordingly.

9. do you still have questions? Feel free to contact us!

If you want to create your own 360° images for the first time and/or have any questions about our software: Send us an e-mail to service@vr-easy.com Or call us at +49 3334 - 427 9740
Maybe you can also use our YouTube-Channel with the numerous tutorials to answer your questions - or even be an inspiration.


10. Who or what is VR-EASY?

VR EASY GmbH is a young and innovative company based in Brandenburg, Germany. We are on the market since 2012 with our innovative online-based 360° software, which is proven in practice in many fields (including location marketing, education) and is constantly being further developed. We are open to new things, value sustainability, support and professionalism and want to keep the threshold as low as possible, when it comes to interested parties to create 360° images themselves and edit them with innovative software. Our software and all tours run on climate-neutral servers from Telekom. Data protection in accordance with the DSGVO is a matter of course for us, we work with professionals, so that our customers and their data are on the safe side. And - we look forward to and about a lively VR-EASY community. We cordially invite you to join us with your 360° images.